
Photoshop Backgrounds, Patterns, Textures & Tutorials
Our Newsletter
Would you like to receive special offers, tips and occasional free samples?
Sign Up Here


Recommend Us
Using the Dodge and Burn Tools |
|
By Rick Wetzel In previous tip, I applied a watercolor texture to a photograph. and the effect was quite nice. This tutorial goes one step farther. I'll add dimension to the texture without resorting to airbrushing a tone on top of the texture. By using the Dodge and Burn tools in Photoshop, you can retain the underlying color. |
|
|
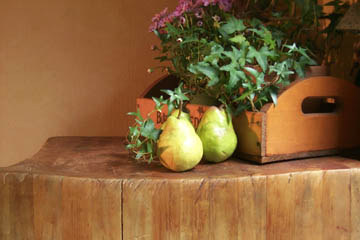
I started with a photograph that I took with my digital camera. I used available light and a little fill with a tungsten flood. No flash. I could have spent more time with the lighting, but I wanted to demonstrate what you can do with just a good picture. |
|
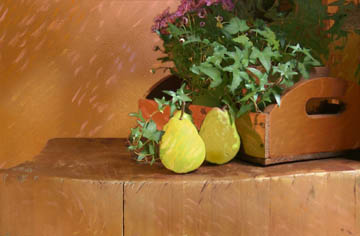
Using just one Digital Pastel, from my latest collection, I Copied and Pasted Into selected areas of my photograph. You can review this technique in monthly Tip #2. I could have stopped here, but I wanted to add some dimension to the pears and restore the gradation of the side panel of the tray. This brings me to this installment - Using the Dodge and Burn Tools. |
|
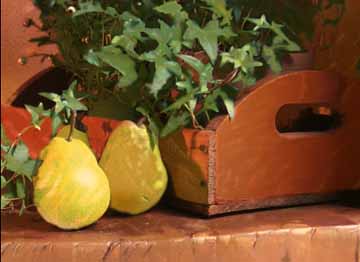
I cropped in tight for this part of my Tips. Make sure you work in Layers. You'll have built in masks! I first wanted to give the left pear some additional dimension. I choose the Burn tool, selected a 50% exposure, and selected shadows from the Burn palette. With the proper layer selected, I burned in shadow. For the highlight, I choose the Dodge tool, selected a 50% exposure, and selected highlight from the Dodge palette. |
 |
This is a good example of how airbrushing a lighter tone would have killed the underlying texture. For the side of the tray, I selected the appropriate layer, and used the Dodge Tool. This time I change the brush size to 300. |
|
|
|
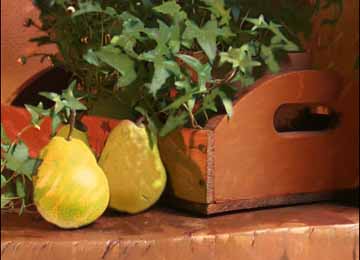
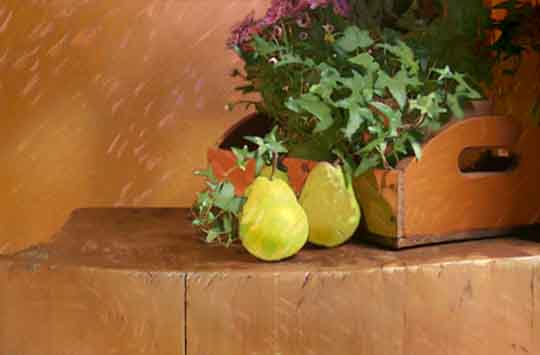
The final photo-illustration using the Dodge and Burn technique with Digital Pastels for Photoshop. |
|
