|
|
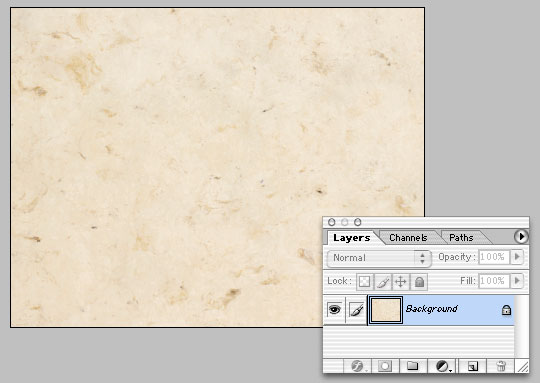
Step 1
In my example, I opened a Digital Art Paper and cropped it to 8' x 10".
|
|
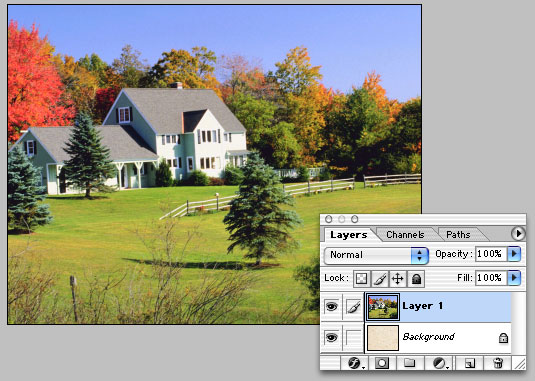
STEP 2
Open a image that will utimately receive the new border. Copy and paste it, on it's own layer, over the background.
|
|
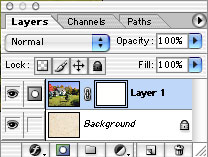
STEP 3
Create a mask on layer one by clicking on the mask icon (the second icon from the lower left ).
|

|
STEP 4
Option click (PC - Alt click ) on the new mask thumnail to activate it. The window should now turn white.
|
|
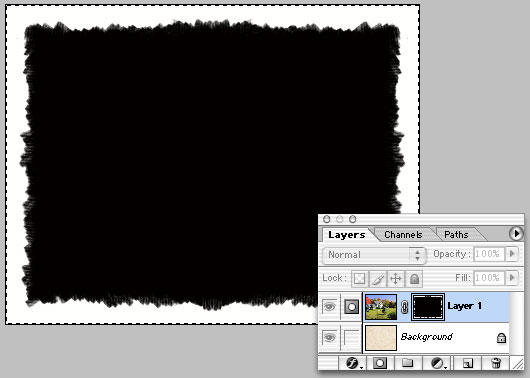
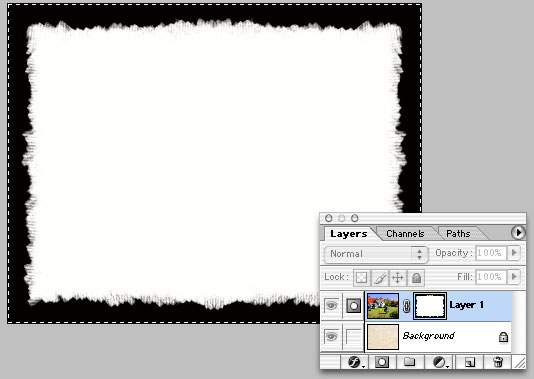
STEP 5
Open a border, select all and copy it, Return to your tutorial window. Click (CS2 Option Click -PC Alt Click) on the newly created laser mask in the Layers window, and paste.
|
|
STEP 6
Select Image>Adjustments> Invert to reverse the border. Remember, black will knock out our image.
|
|
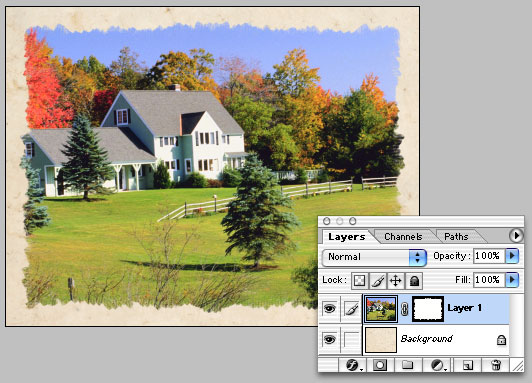
STEP 7
Click on the left thumnail within layer 1 to reveal the masked image.
|
|
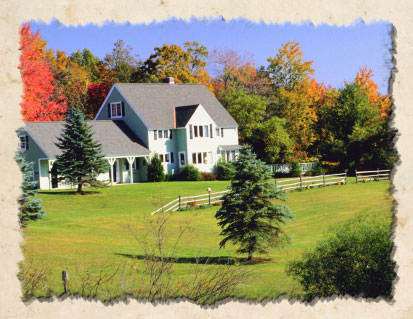
STEP 8
You could stop here but if you want to, you can add layer effects to the mask. Here, I've added a drop shadow and a bevel & emboss for some additional effects.
|