Your cart: 0 item(s) $0.00

Photoshop Backgrounds, Patterns, Textures & Tutorials

Our Newsletter

Would you like to receive special offers, tips and occasional free samples?
Sign Up Here


Recommend Us


Book-Matched Backgrounds

By Rick Wetzel

If you are a woodworker, you might have heard the term "book-match". It means match the grains of two sheets of veneer so that one sheet seems to be the mirror image of the other. In Photoshop, we can book-match backgrounds and get some beautiful results. In this tutorial, I selected a White & Black Pattern, book-matched it and then reduced it to created a tighter overall pattern.

Wait, can't you use the Offset command and do the same thing? Aren't you just tiling?

Not really. We want to make a larger image. The offset command slices up the image into four pieces. We'll use the entire piece and treat it the same way. And, we will flip the image which the offset command doesn't offer.

After you've tried this technique, you can try different alternatives. For example, try taking long vertical strips and "book-match" them multilple times. In essence, you're taking a background and creating a background pattern.

The following tutorial uses highly reduced images to convey the idea.

STEP 1

Open any background pattern or texture in Photoshop. In the Layers Palette, double click on the background layer. Click OK on the New Layer dialog box (That will make the background transparent after the next step). The new layer will now be named Layer 0. Choose Canvas Size from the Image menu. In the Canvas Size dialog box, select 200 percent for both the horizontal and vertical dimensions. Before clicking the OK button, make sure to anchor your original in the upper left hand corner.

STEP 2

Select Layer 0 and with the option-key and shift-key held down (PC alt-key) slide the image to the right - a copy of the original is made. It should fit perfectly in your larger canvas. Now, with the image still selected, flip the image - Edit>Transform>Flip Horizontal.

You could stop there, if you had a need for a very long horizontal image.


STEP 3

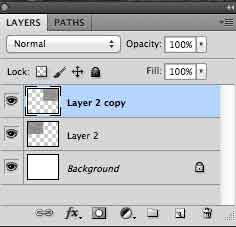
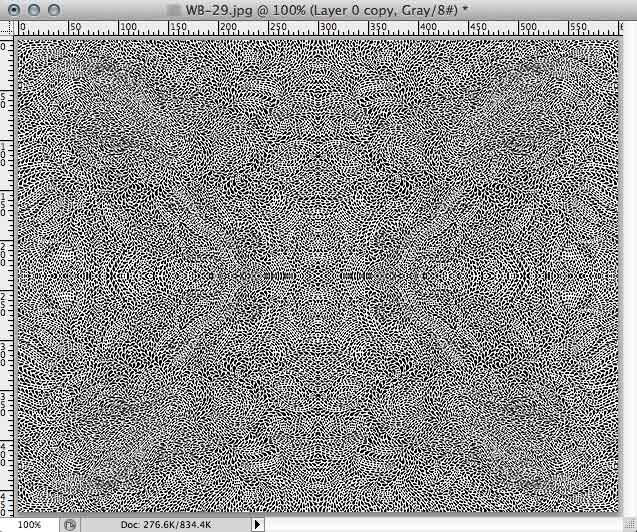
Select layer 2 copy in your layers palette, and select merge down. (Command E)

Once combined, select your new layer as and with the option-key held down (PC alt-key) slide and duplicate the image down. It should fit perfectly in your larger canvas. Now, with the image still selected, flip the image - Edit>Transform>Flip Vertical.

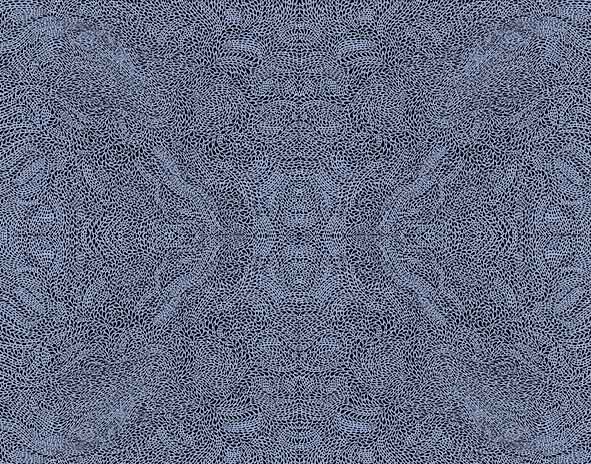
If necessary, after flattening your new background, take the time to edit your seams. In this case all that was necessary was adding a little bit of white using the pencil tool set at 1 pixel wide.


Again, you could stop there, but you could add a little color.


STEP 4

Create a new layer, in your Layers Palette, above your current layer(s). Fill with the color of your choice and select Multiply from the Blending Modes drop down menu in the layers palette.


Web Statistics