Colorizing Black & White Photographs The Right Way
- Wyett Nettles
- 0
- Posted on
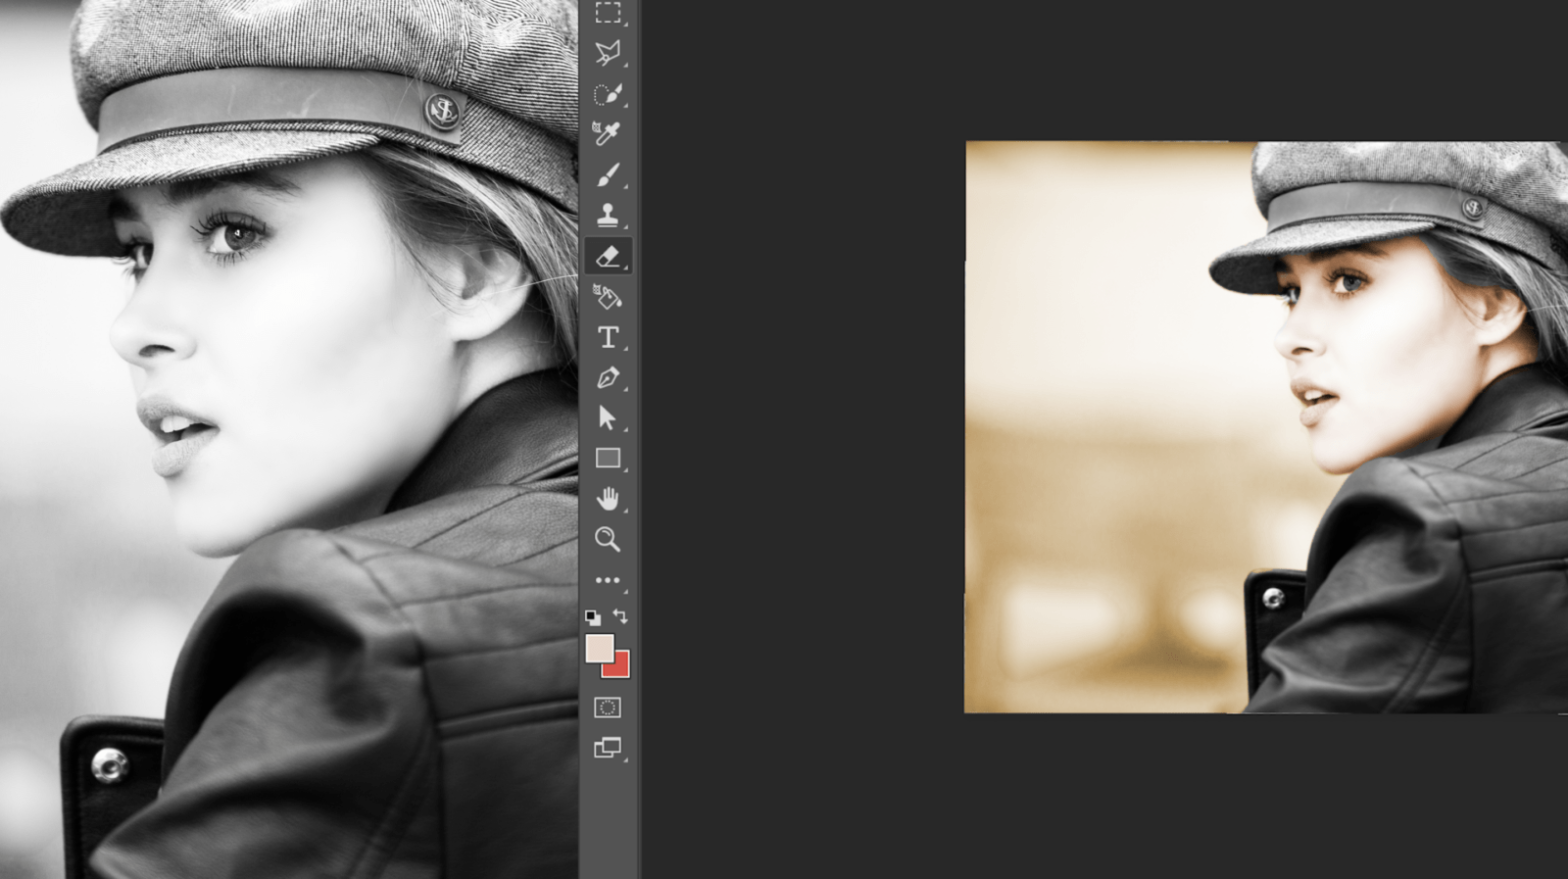
| The question that my customers most often ask is “How did you colorize the ‘Ranch House’ photo?”. The traditional approach many artists and photographers use is to paint on a “multiply” layer. That’s where you create a new layer on top of the scanned image, change the layer mode to multiply, and paint with the color of choice. The problem with this approach is that you end up with flat and uninteresting color. My technique is somewhat similar, but I use one of my background textures instead of a solid color. |
| Step 1 If you have any Photoshop CS edition, Ranch House.jpg is located in the Samples folder within the Photoshop CS application folder. In the first step, open the Ranch House file or any other black and white image and change the Image mode to RGB. As an alternative, you can take any color image and desaturate it. Step 2Open the background texture of your choice. In this case, I used a background from our Artisan Papers CD. I then copied the image and pasted the background over the ‘Ranch House’ image. Because the background texture was much larger than the black and white image, I scaled and cropped it.At this point, I like to make several copies of this layer and turn them off. We will need an original background to copy several times as we go. Step 3On layer one, the first visible layer of the background texture, convert the layer mode to Color and set the Opacity to 30. Duplicate this layer and set the mode of the new layer to Multiply and set the Opacity to 30. If you look carefully, the texture of the background is starting to emerge.This is where the colorizing process is experimental and fun. Try different layer modes, i.e.: Multiply, Screen, Soft Light, etc. and choose your favorite. Step 4 Now it’s time to alter the color of individual objects within the photograph. With your pen tool or lasso select the boundaries of an area where you want to change the color. In this case I selected the door.Go back to one of the hidden original background layers and activate it. Select Inverse, and delete all but the selected area. Now deselect your object and change the layer mode to Multiply. Set the Opacity to 30%.Using Image>Adjustments>Hue/Saturation manipulate the layer until you’re happy with your color choice. I found that I had to back off the saturation a bit to keep the color compatible with the overall tone. Step 5 Continue selecting objects and repeat Step 4 until you’re happy with the result. I think you’ll find this approach has a richness that the traditional techniques lack. Have fun! |